
Description
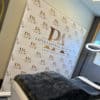
One of the biggest and best advertising spaces is often neglected: the highly visible shop window of your studio. This advertising space is so important – after all, it is the first impression.
Through our selection of high quality photo icons, we have already covered some of the most important services and treatments within the beauty industry in our range.
Show your customers at a glance what services you offer. These photo motifs were generated by us exclusively and in high-quality detail only for our customers. These motifs are therefore unique and not available elsewhere.
Choose the frame color to match your interior. The photo icons are created using high-quality digital printing and laminated in matt or gloss as desired. The minimum quantity per order is 3 motifs.
What we offer you here:
- The circles have a diameter of approx. 30 cm
- High-quality digital print, laminated in matt or glossy on request
- Choice of frame color
- If you want e.g. 6 services for your studio please buy 6x this article !
Please write us your desired services and border color in the field under “additional information” in the shopping cart.
The films are designed to be applied from the outside. The following services are available (the icons are fixed – frame color selectable):
- Lash & Browlifting
- Eyelash extensions
- Teeth whitening
- Permanent make-up
- Make-up
- Facial treatment
- Botox / injections
- Foot care
- Nail design
- Permanent hair removal
We only use high-quality brand films!
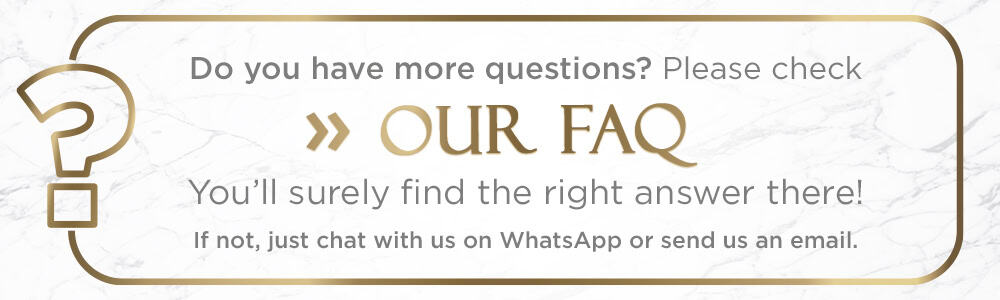
With our elegant shop window icons in a high-quality photo look, you are sure to get a second glance from walk-in customers! At first glance, your customers will recognize which treatments you offer and the glamorous appearance will already give your customers a sense of the luxury they will receive from you. If you have an individual request for an unusual icon that specifically applies to your range of services, please contact us! The BeautyWerbeProfi will give you the public image you deserve based on your special services!

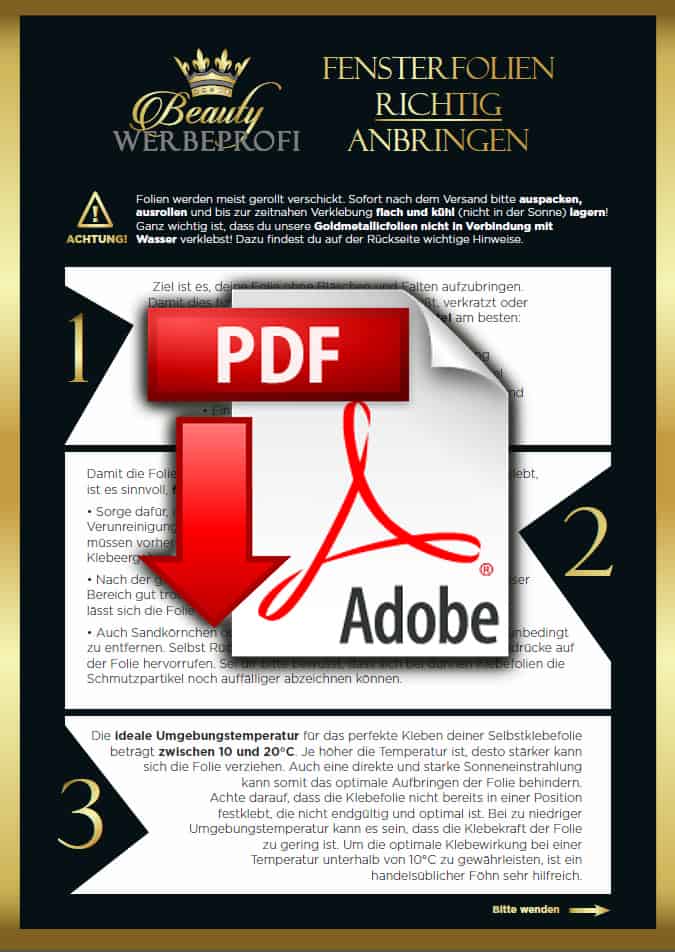
Apply window films correctly
Films are usually shipped rolled. Please unpack immediately after dispatch, unroll and store flat and cool (not in the sun) until prompt application!
 The aim is to apply your film without bubbles and wrinkles. The following tools are best suited to ensure that this works without tearing, scratching or damaging the film:
- Folding rule or spirit level
- Possibly universal cleaner for heavy soiling
- A washing-up liquid or pH-neutral detergent
- A lint-free cloth
- A squeegee – masking tape/adhesive tape
- A metal ruler, a metal rail or, if necessary, a cutter knife for gluing surfaces.
 To ensure that the film sticks to the substrate later without bubbles and creases, it is advisable to make the following preparations:
- Make sure that the surface to be glued is dry and clean! Contaminants such as wax, oil, grease or silicone must be meticulously removed beforehand in order to achieve optimum bonding results.
- After thoroughly cleaning the surface to be covered, this area must be allowed to dry thoroughly. The film cannot be applied to a damp or even wet surface!
- Grains of sand or hair on the surface to be covered must also be removed. Even residue from flies on the surface can leave marks on the film. Please be aware that dirt particles can be even more noticeable on thin adhesive films.
 The ideal ambient temperature for perfect adhesion of your self-adhesive film is between 10 and 20°C. The higher the temperature, the more the film can warp. Direct and strong sunlight can also hinder the optimal application of the film. Make sure that the adhesive film is not already stuck in a position that is not final and optimal. If the ambient temperature is too low, the adhesive strength of the film may be too low. To ensure the optimum adhesive effect at a temperature below 10°C, a commercially available hairdryer is very helpful.
 Frosted glass satin film/
Privacy film
(wet bonding)
- First mark the desired position of the film. You can do this with adhesive tape by fixing the edges or corner.
- Then prepare a soapy solution: mix 1 liter of water with 1/2 teaspoon of pH-neutral washing-up liquid or detergent.
- You can now apply the soap solution to the area to be covered using a spray bottle. Make sure that the area to be covered is moistened with the soap solution at all times until the final placement of the adhesive film. If there is not enough lye on the bonding area, you may need to spray some more later.
- Next, place your self-adhesive film with the print side facing down on the cleaned and moistened surface.
- Now slowly begin to peel off the backing paper completely. The best place to start is in a corner. Be careful not to pull or stretch the film too much, as this can cause the film to lose its shape and form creases or air bubbles. Remember to spray the adhesive side with the soap solution as well.
- Now it’s time to place the self-adhesive film with the adhesive side on the desired surface (i.e. turn it over!). As you have previously applied the soap solution to the surface to be covered, the film can be easily slid back and forth. You now have the option of positioning the film in the right place. To prevent the film from slipping, you can use masking tape again to hold it in place. If you still haven’t found the right position, simply remove the film again and start again.
- To prevent scratches on the film, spray the printed top side with the soapy water as well. Using a soft cloth or a squeegee with rounded corners, carefully squeeze out any excess water and air bubbles towards the edges. You can use an absorbent cloth or kitchen roll to absorb the excess soapy water. You can now also remove the adhesive strips used for fixing.
- If air bubbles remain under your self-adhesive film, you can simply prick them with a thin needle and press out the remaining air.
- Finally, use your squeegee with the rounded edges again to carefully press the entire surface of the self-adhesive film down to the edges. Be careful not to apply too much pressure to avoid scratches.
- If white streaks or dark discolorations have now appeared, this is due to the soap solution. As soon as the film is completely dry, these will disappear. This is also when the full adhesive strength of the film is released.
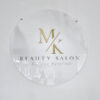
Icons, logos and fonts – especially gold metallic foils
(DRY bonding)
- First, take a look at where you want to position the self-adhesive film. Hold the icon, your logo or the lettering (together with the backing paper!) in the place where it is to be applied later.
- Now use a spirit level or folding rule to position the film exactly as you like it best.
- Use masking tape to fix the corners of the self-adhesive film in the ideal place.
- Peel off the backing paper at one corner for a few centimeters. Make sure that the film does not immediately stick to the area to be covered! Use your squeegee with rounded corners to gradually press down the entire area. Continue to apply the film piece by piece and with care until the entire motif is in place.
- Once the entire logo, icon or lettering is in place, carefully peel off the remaining transfer paper. Please be particularly careful with metallic foils: only use a lint-free cloth for final fixing. A squeegee can scratch the delicate surface of the metallic foil.
- Remove any air bubbles with a thin needle.
These instructions and tips are intended to make it easier for you to apply your self-adhesive films. However, we cannot guarantee that you will install your self-adhesive film correctly. If you have any questions, please contact us.